Alrighty, then.

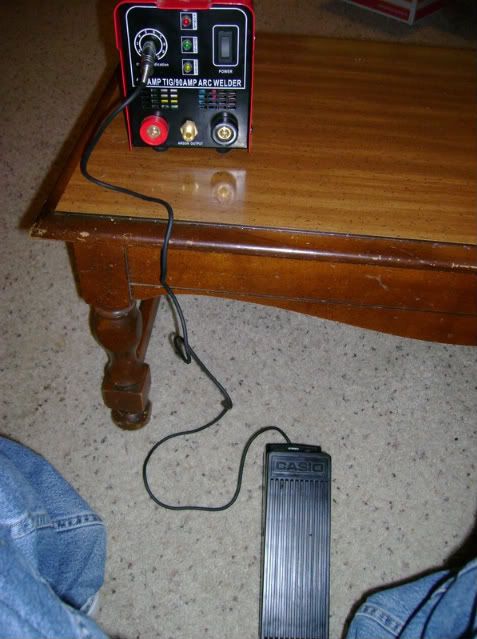
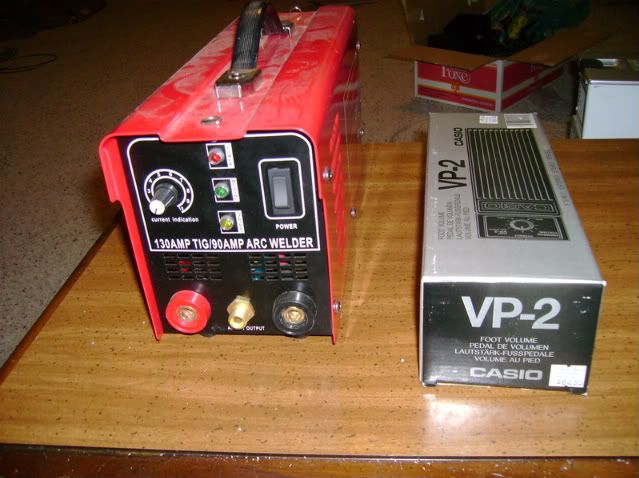
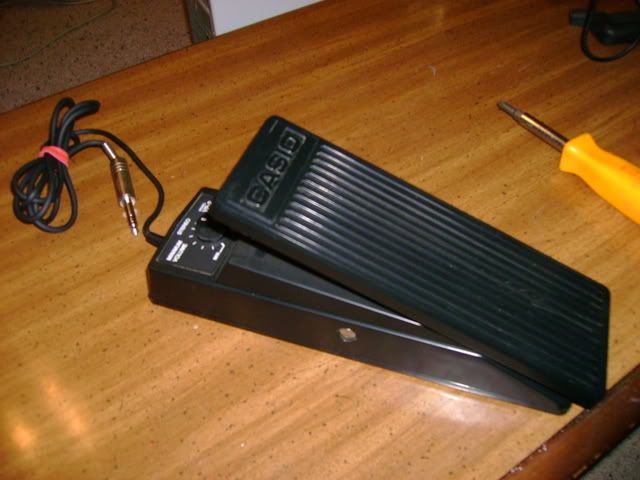
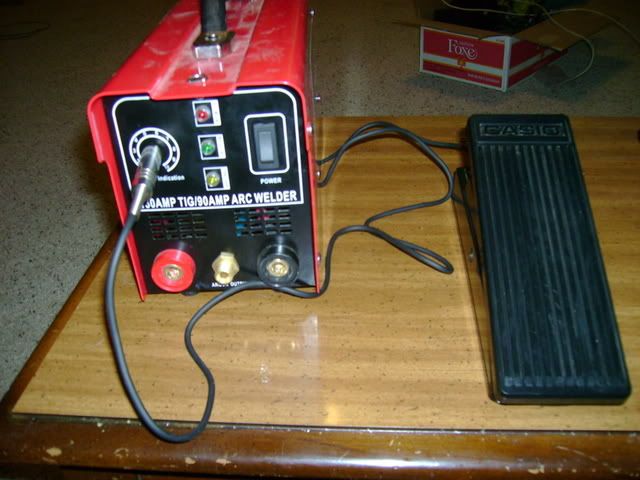
What I started with was a new-in-the-box HF TIG welder, and for the foot pedal, I used a Casio volume foot-controller that I got off eBay for about $30. The model number for it is VP-2.
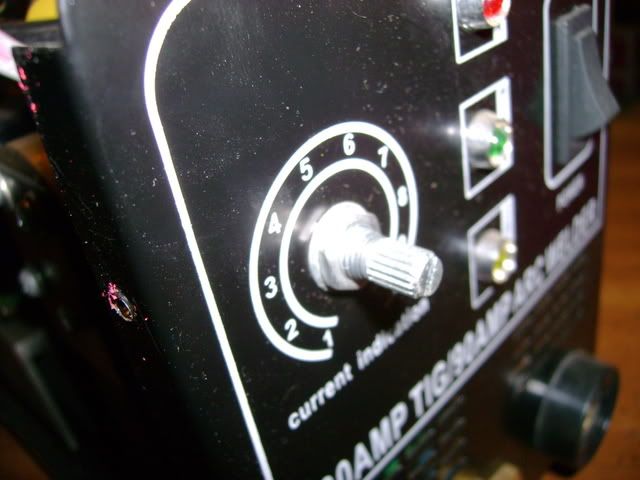
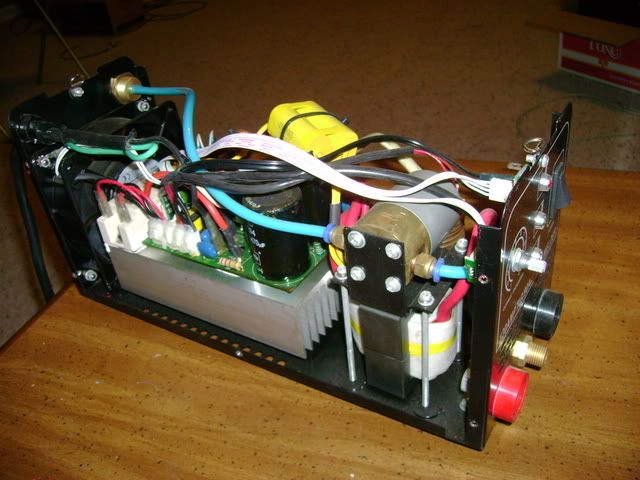
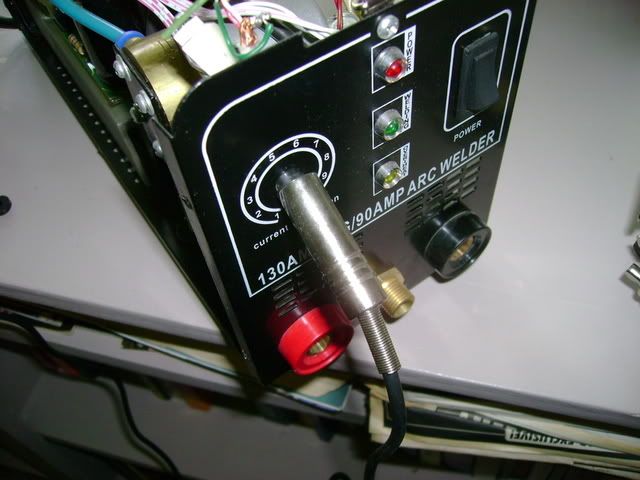
Start out by pulling the control knob off the TIG welder, and use a 10mm box wrench to remove it from the panel.
Then remove the cover from the welder AFTER MAKING SURE IT IS UNPLUGGED AND DISCHARGED (do NOT get yourself zapped!)
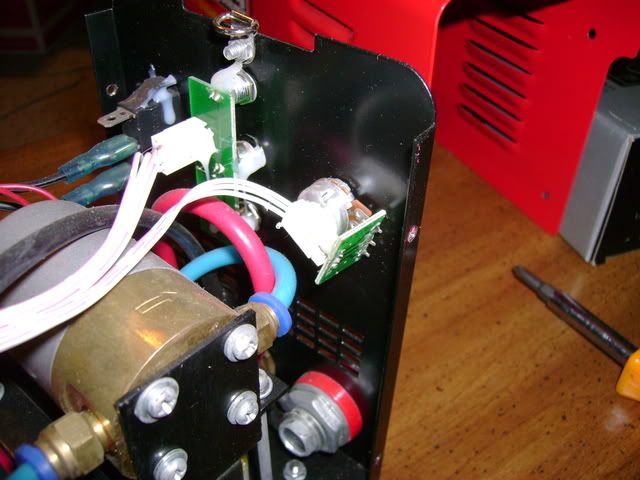
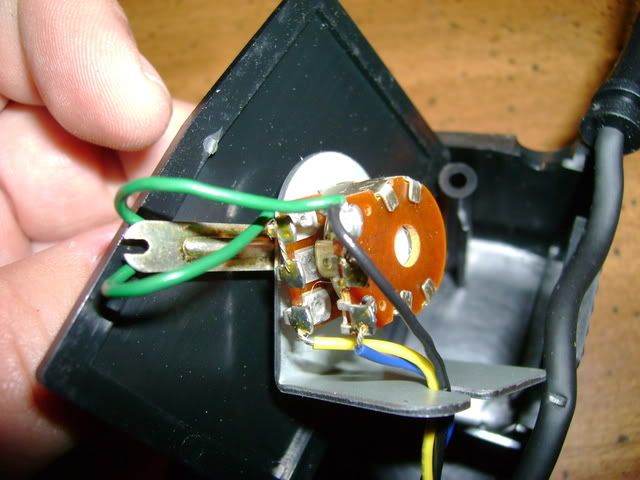
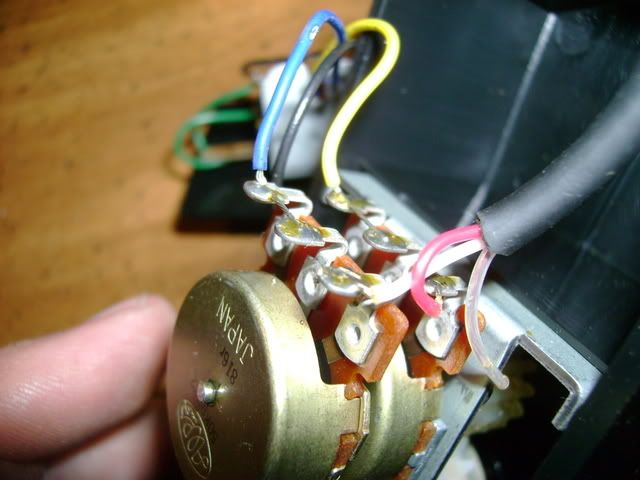
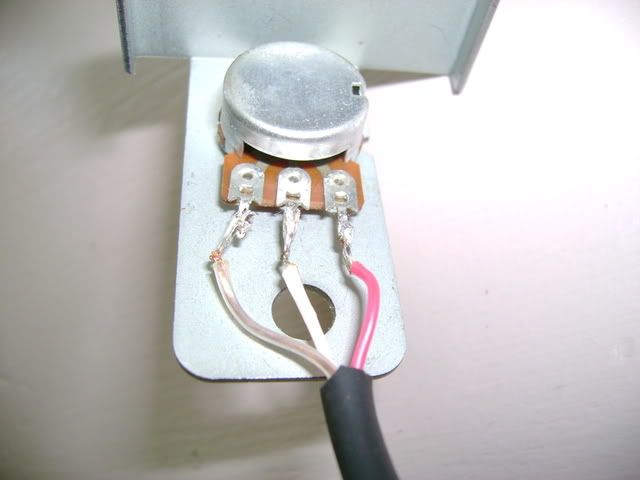
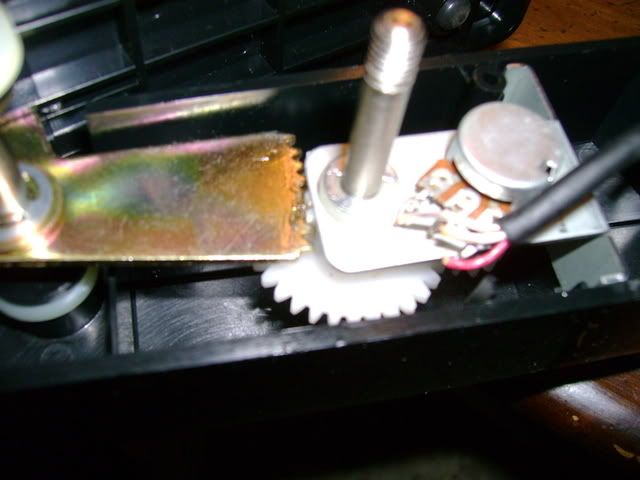
Here's the backside of the adjuster, that is pulled from the rear. It is attached to a small circuit board and that connects to the wiring to the welder. I did not try to detach the small white plug from the board, as it seemed fragile and might be hard to find a matching replacement.
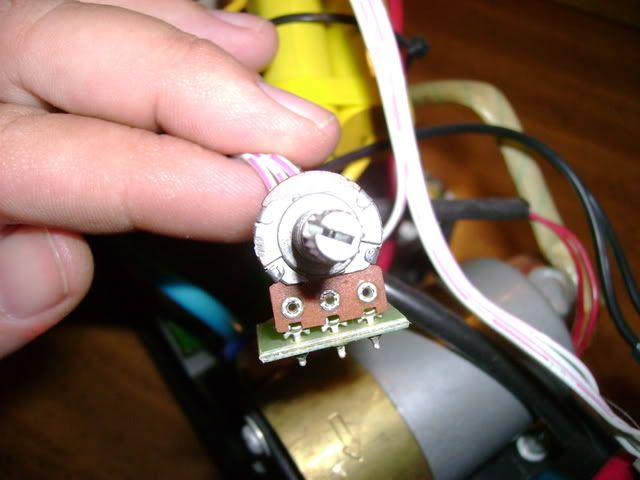
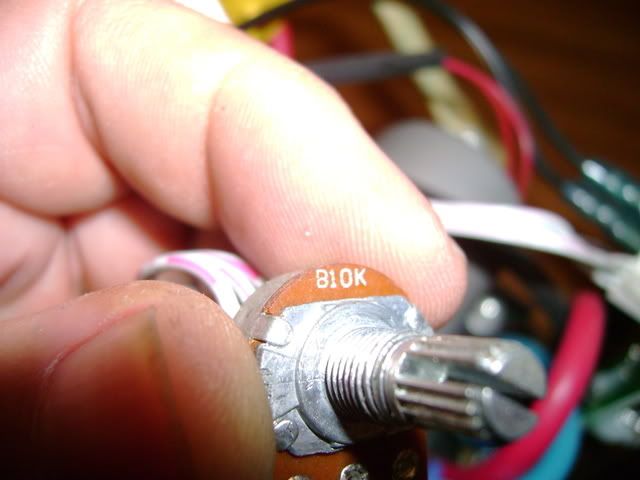
Notice the spec on the pot. This is different than the one on the pedal, so it would not work as a direct plug-in. But there IS a solution...
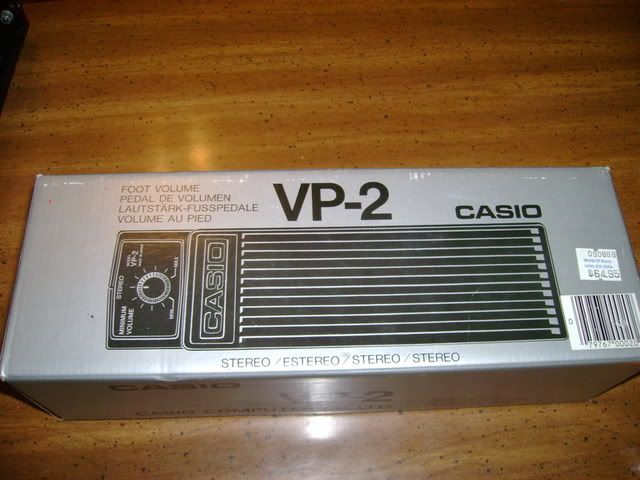
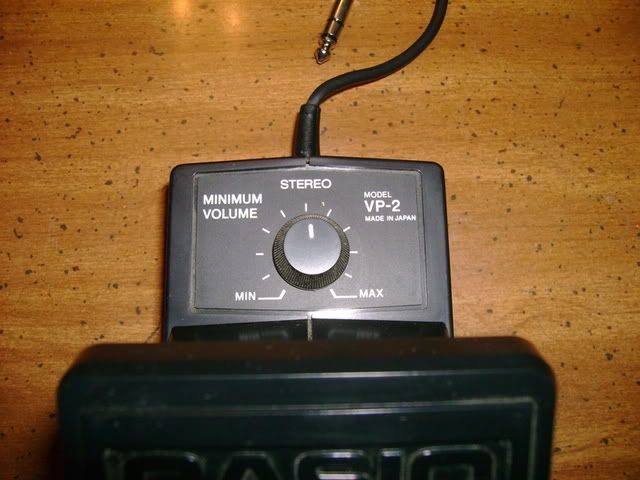
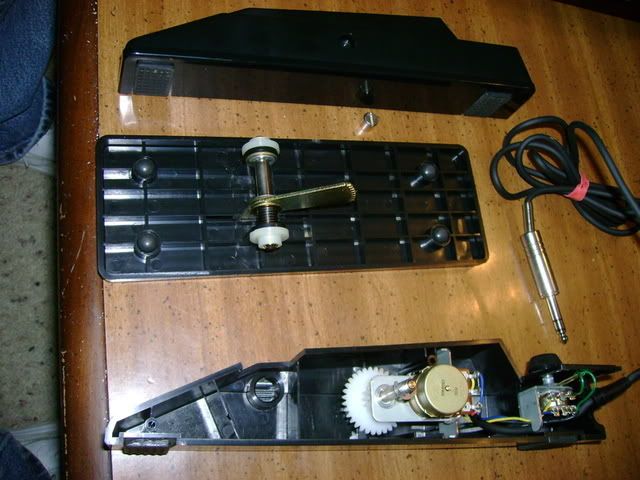
Here's the foot controller out of the box.
The knob on top of it gets eliminated in the conversion.
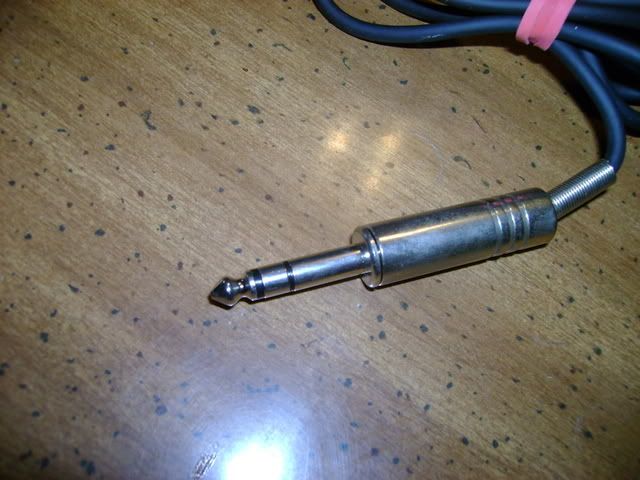
As does the plug.
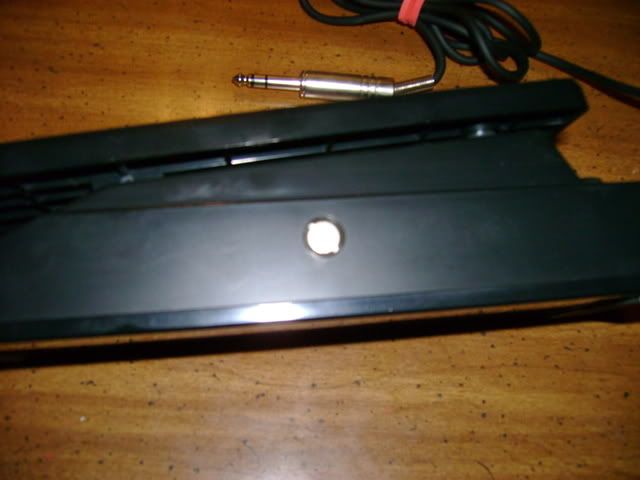
Start the disassembly of the pedal by removing the screw on the side.
Once that's off, here's what the guts look like.
Another side view of how it goes together.
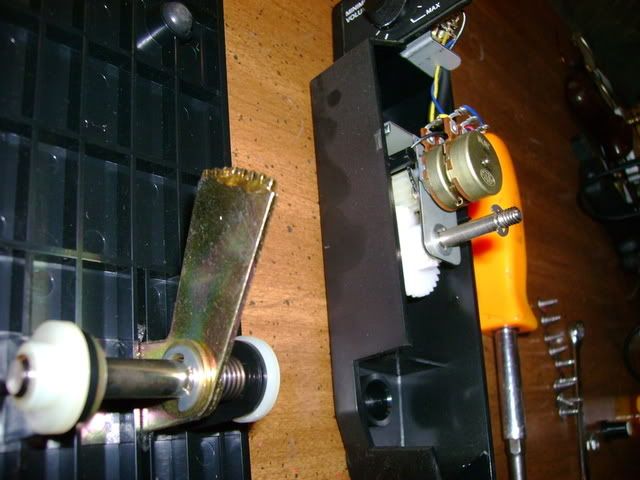
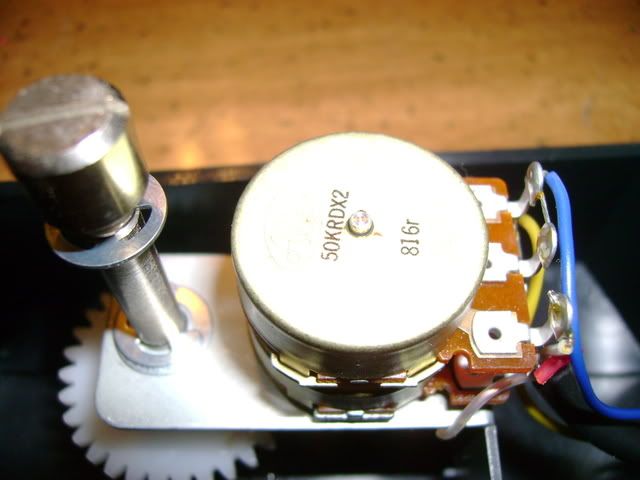
Here's the pot that is attached to the pedal. It has a double set-up that uses the knob on top as a limit, with the pedal travel going inbetween the limits. This mod will eliminate that, as I didn't want to add too many variables to the control circuit load for the welder.
Notice that the pedal pot is a different value. The way I solved this was to adapt the original welder's pot in place of the ones in the pedal.
This one on the pedal also goes away.
Using a soldering iron, carefully heat the wires where attached just enough to remove the cable's three connections from the pedal's pot, and then do the same to where they are soldered to the plug.
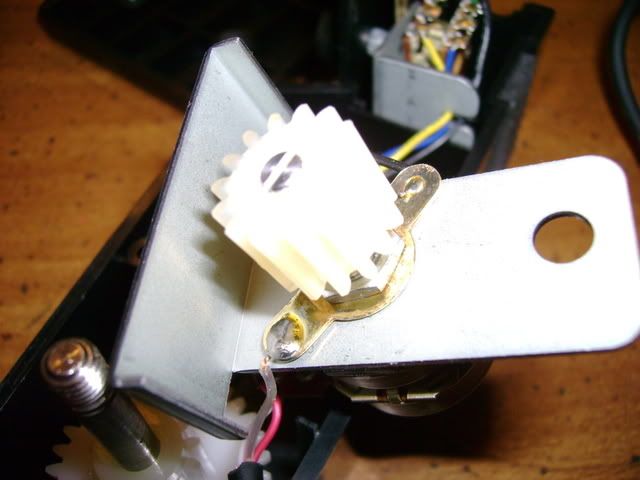
Remove the circlip that holds the pot bracket and gears, and pay attention to the order and direction that the parts all fit so you don't put any of them on backwards the first time (ask me how I know this- D'OAH!).
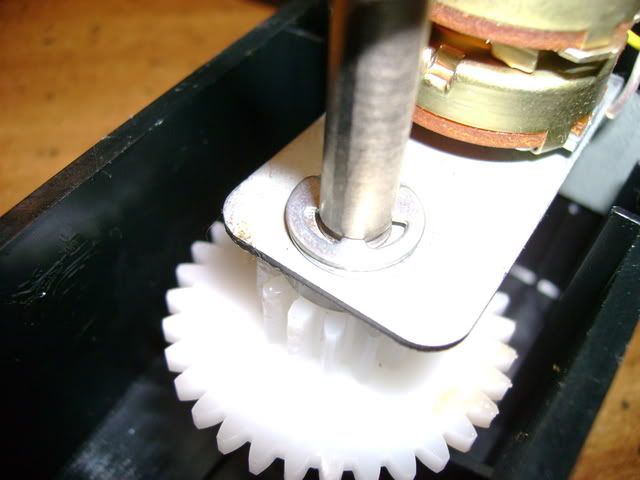
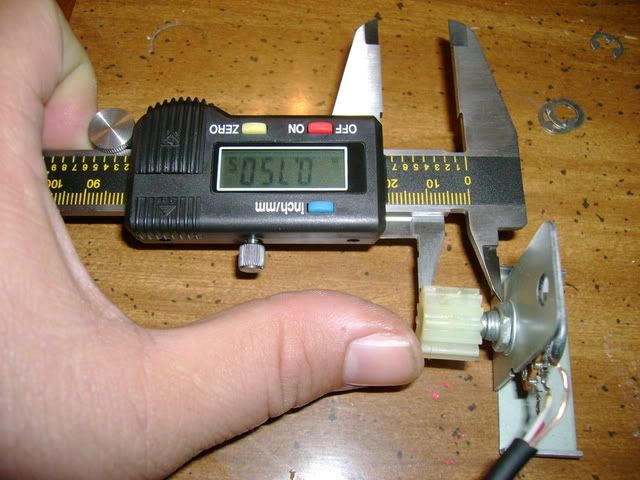
Notice that the gear extends .75 inch from its outer edge to the bracket on the original pot. This measurement needs to be matched when you slip it over the welder's pot. It fits the shaft OK, but the shaft is shorter so be sure to measure it to make the gears line up correctly. (and yes, the pot IS on the bracket backwards in the photo)
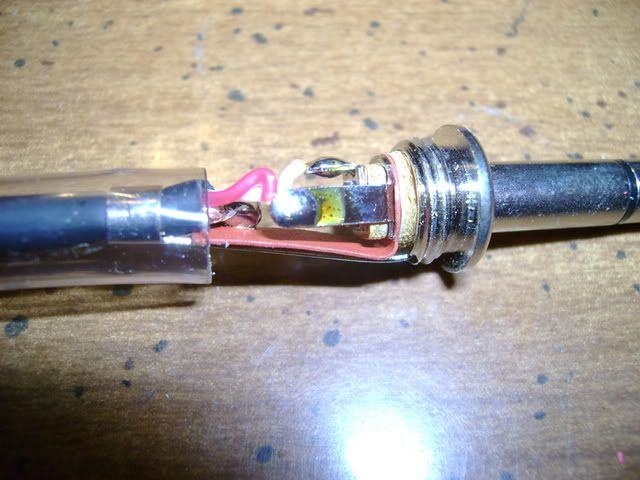
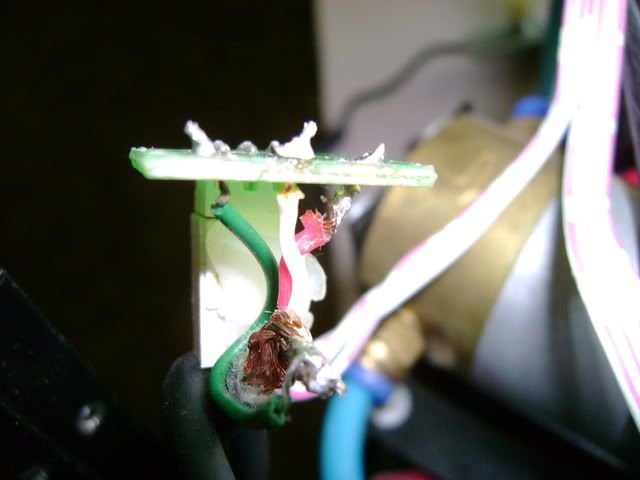
Now, you can use the pedal's cable to save money. The welder's pot has three terminals, as does the small circuit board. BE SURE TO MATCH THE COLORS ON EACH END OF THE WIRE TO WHICHEVER CORRESPONDING TERMINAL WENT FROM THE POT TO THE BOARD. Which wire you use isn't as important as is being sure that they are not crossed from how the pot originally attached. For the part of the cable that uses a wire sheath, I salvaged one of the short wires from the pedal pot connections, to fit up in the board. Be sure to remember to run the wire through the hole in the panel BEFORE you attach it to the circuit board, and to put a small loose loop in the cable to help keep it from pulling out or stressing the solder points in the board.
I kept the plug housing and spring on it to give it a little extra support, but you could just as well simply use a little silicone or rubber grommet where the cable goes into the panel.
Now that the cable is wired in, you need to install it in the pedal bracket. Use the 10mm wrench to gently tighten it with the wires positioned to give clearance in the pedal housing. Be sure when you are putting it back together to notice the notch on the main shaft that the gear rotates on, and get it back in the proper slot to fit. Also be sure to set the pedal in the right position, by noting which direction the original pot is turned to give its lowest number. Then install the bracket with the pot, and put the pedal in, aligning the gear on the pedal to the main gear with the pedal fully up and the pot on low. Gently check its travel and if it operates cleanly, proceed to route the wire through the hole on the front of the pedal housing, and be sure to reinstall the white plastic bushings the pedal rotates on, and the plate (with the original volume pot removed) on top of the pedal housing.
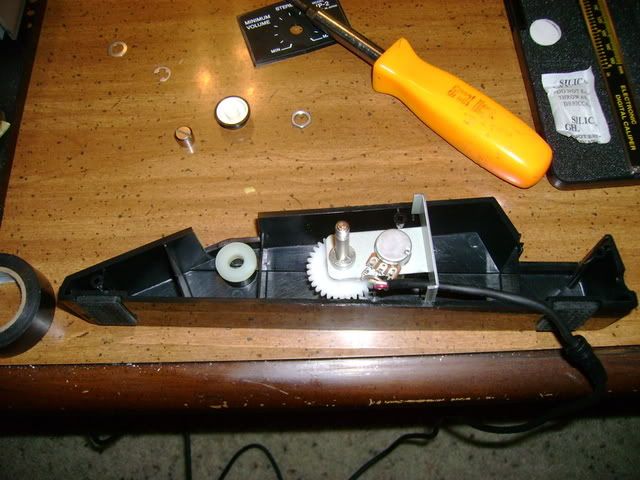
Put the housing back together, and there you go. That's as far as I've gotten with this myself yet. I haven't tested it yet, but I see no reason why it would not work, as it is still using the same controller pot as before, just relocated to a foot pedal.
Hopefully, it will work and will make it easier to control the temp when TIG welding. The pedal stays where you leave it, so your foot shouldn't have to be on it constantly, but if you need to vary the temp it would be FAR easier with both hands free to hold the torch and the rod, and to not have to look away in the middle of a weld. Many thanks to Pirate for his TIG tutorial that got me to buy one of these harbor freight TIGs in the first place, and to Col Krenk over on the AK Files for his suggestion of what foot pedal to use. Thanks, y'all, and maybe this will help some of you guys like so many others have contributed to my knowledge base along the way.